Press enter or spacebar to select a desired language.

Podcast & Content Creation Studio Guide

About The Room

Welcome to the Podcasting and Content Creation Room! This space is designed for students, faculty, and staff to create high-quality audio and video content. Whether you're working on a podcast, recording a lecture, or producing multimedia for class projects, this room has everything you need to bring your ideas to life.

Before booking the Podcasting & Content Creation Room, students must complete the tutorial and pass the assessment. After passing, upload your certificate of completion in the booking form at the end of the guide to finalize your reservation.

Room Features:

  • RØDECaster Pro II: A professional podcast production console, perfect for recording and live audio mixing.
  • Shure SM7dB microphones (2 boom-mounted) industry-standard microphones, with built-in active preamp, known for their superior sound quality that are ideal for capturing clear vocals.
  • Headphones: High-quality headphones for real-time audio monitoring during recordings.
  • Mac workstation: Pre-configured and connected, ready for you to record, edit, and produce content seamlessly.
  • Acoustic panels: Installed to reduce noise and echo, ensuring high-quality audio recordings.
  • Dimmable lights: Adjustable lighting to create the perfect atmosphere for both audio and video recordings.

We’re always looking to improve your experience in the Podcasting & Content Creation Room. If you have any suggestions or feedback, we’d love to hear from you!

Feedback

Room Guidelines and Etiquette

To protect the equipment and maintain a clean workspace, no food or beverages are allowed in the room, except for covered water.

Please note that there is a maximum time limit of 2 hours per booking. Be mindful of this limit to ensure other students have the opportunity to use the space as well.

Handle all equipment with care and do not leave it unattended; report any issues to staff immediately.

At the end of your session, please log out of all accounts, power down the Mac, and return the space to its original setup for the next user.

Power on Mac

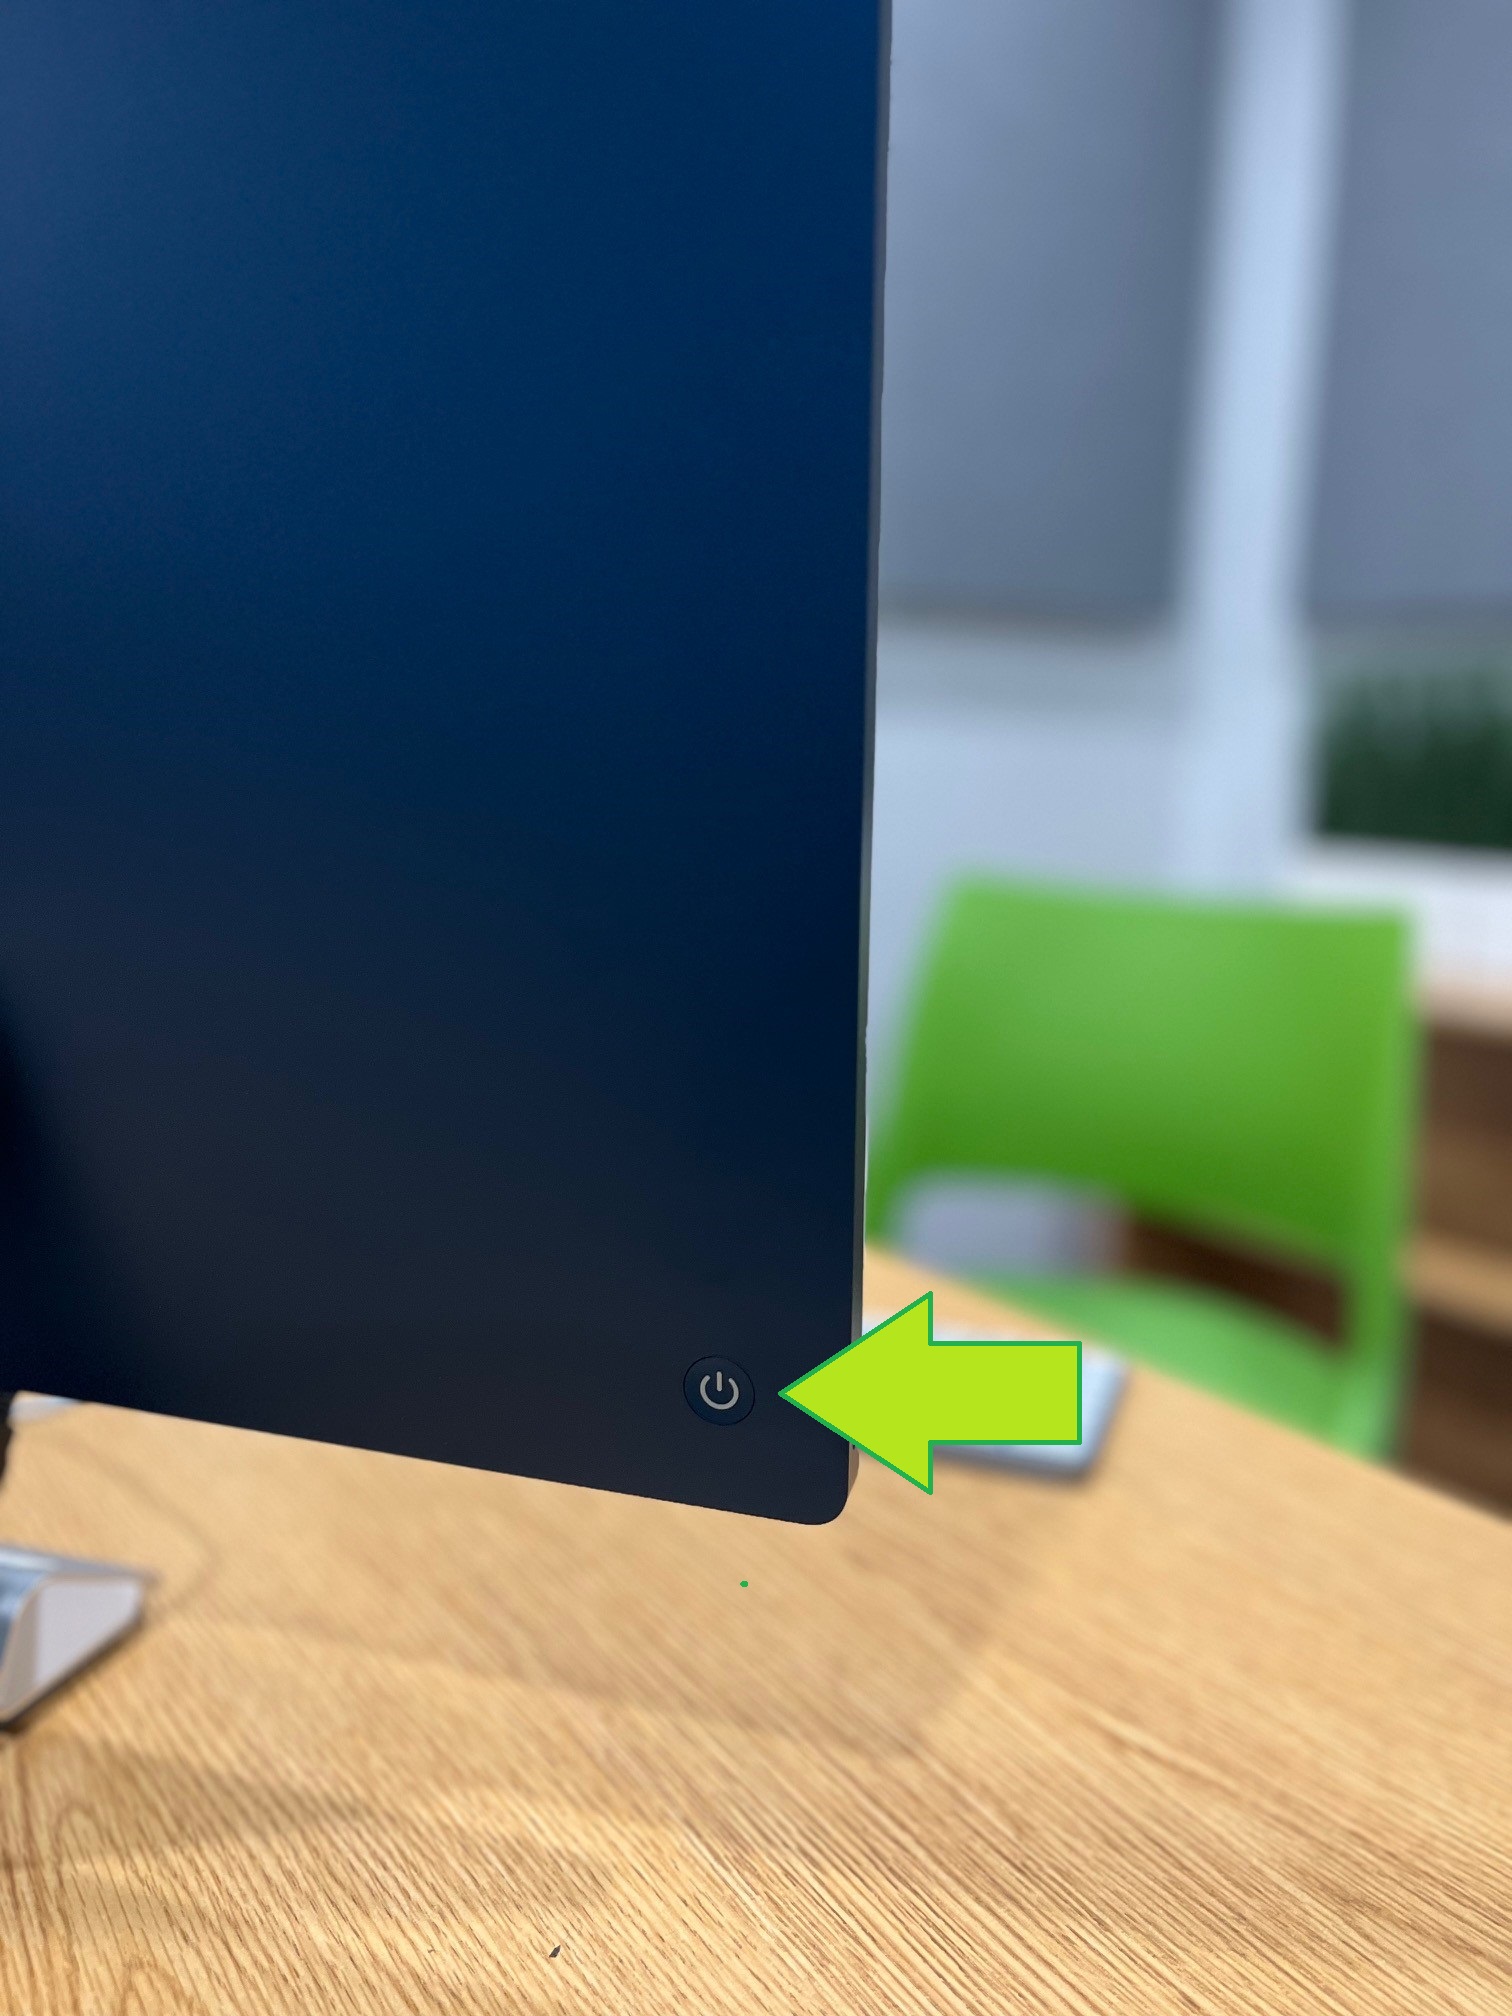
Image of backside of Mac computer showing location of power button
To power on the Mac press the power button located behind the monitor (bottom left when facing screen).

Power on RØDECaster Pro II

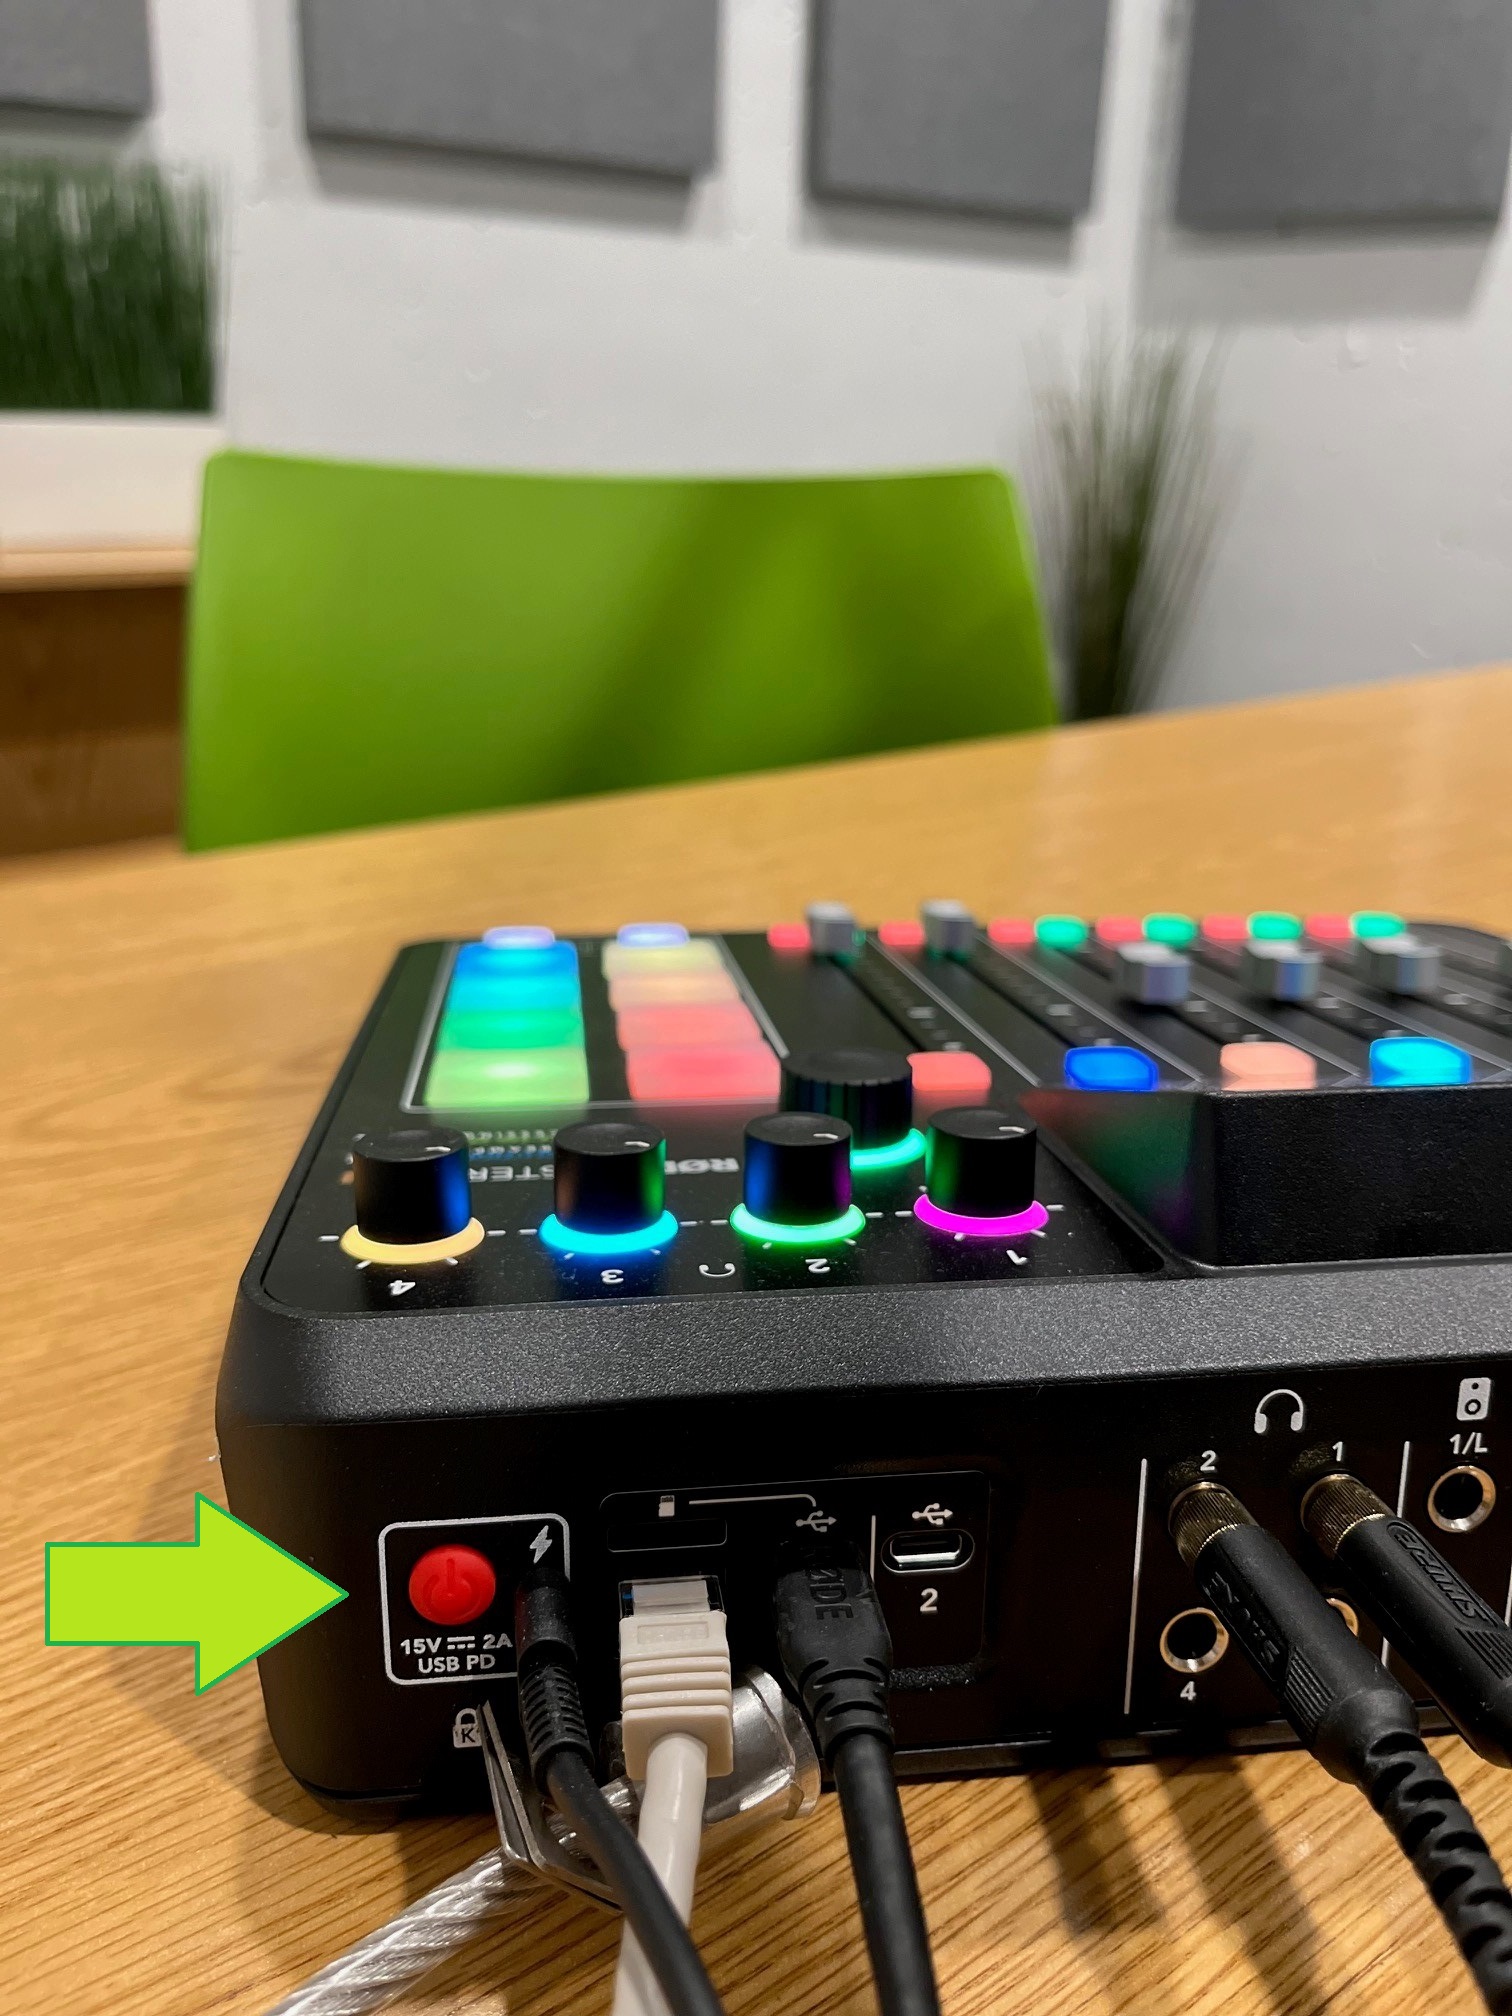
Image showing the location of the power button on the backside of the RODEcaster mixer
To power on the RØDECaster Pro II, press the power button located on the back of the device (rear right when facing the mixer).

Login

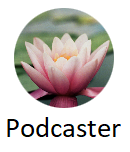
Please use the Podcaster account to log in. While several icons may be present on the login screen, be sure to select the Podcaster account which features a water lily icon as shown below. No password is required.

Image of the podcaster login icon (a water lily)

⚠️ Important Reminder: The Mac workstation is equipped with Deep Freeze software, meaning all data will be wiped upon reboot. Be sure to save your files regularly to an external USB drive or cloud storage to avoid losing your work permanently


USB Ports Location

The USB ports are located on the pedestal below the screen, as shown in the image. Use these to connect your external USB drive for quick and easy file backups. Both USB2 ports and faster USB3 ports (in blue) are available for your convenience.

Launch Software

The Mac comes loaded with both Audacity and GarageBand.

Image of the Audacity App icon (a pair of headphones with flaming wave form)
Audacity App
Image of the GarageBand App icon (a guitar in front of speakers)
GarageBand App

About audio editing apps

Audacity is a versatile, open-source software ideal for recording and editing podcasts, offering a wide range of tools for multitrack editing, noise reduction, and exporting in various formats. While the official documentation is available on the Audacity website, we recommend checking out YouTube tutorials and our Podcasting Guide for additional support.

GarageBand, available for free on Macs and iOS devices, provides a user-friendly interface with built-in sound effects, music loops, and advanced editing features, perfect for creating polished audio projects.

RØDECaster Pro II overview

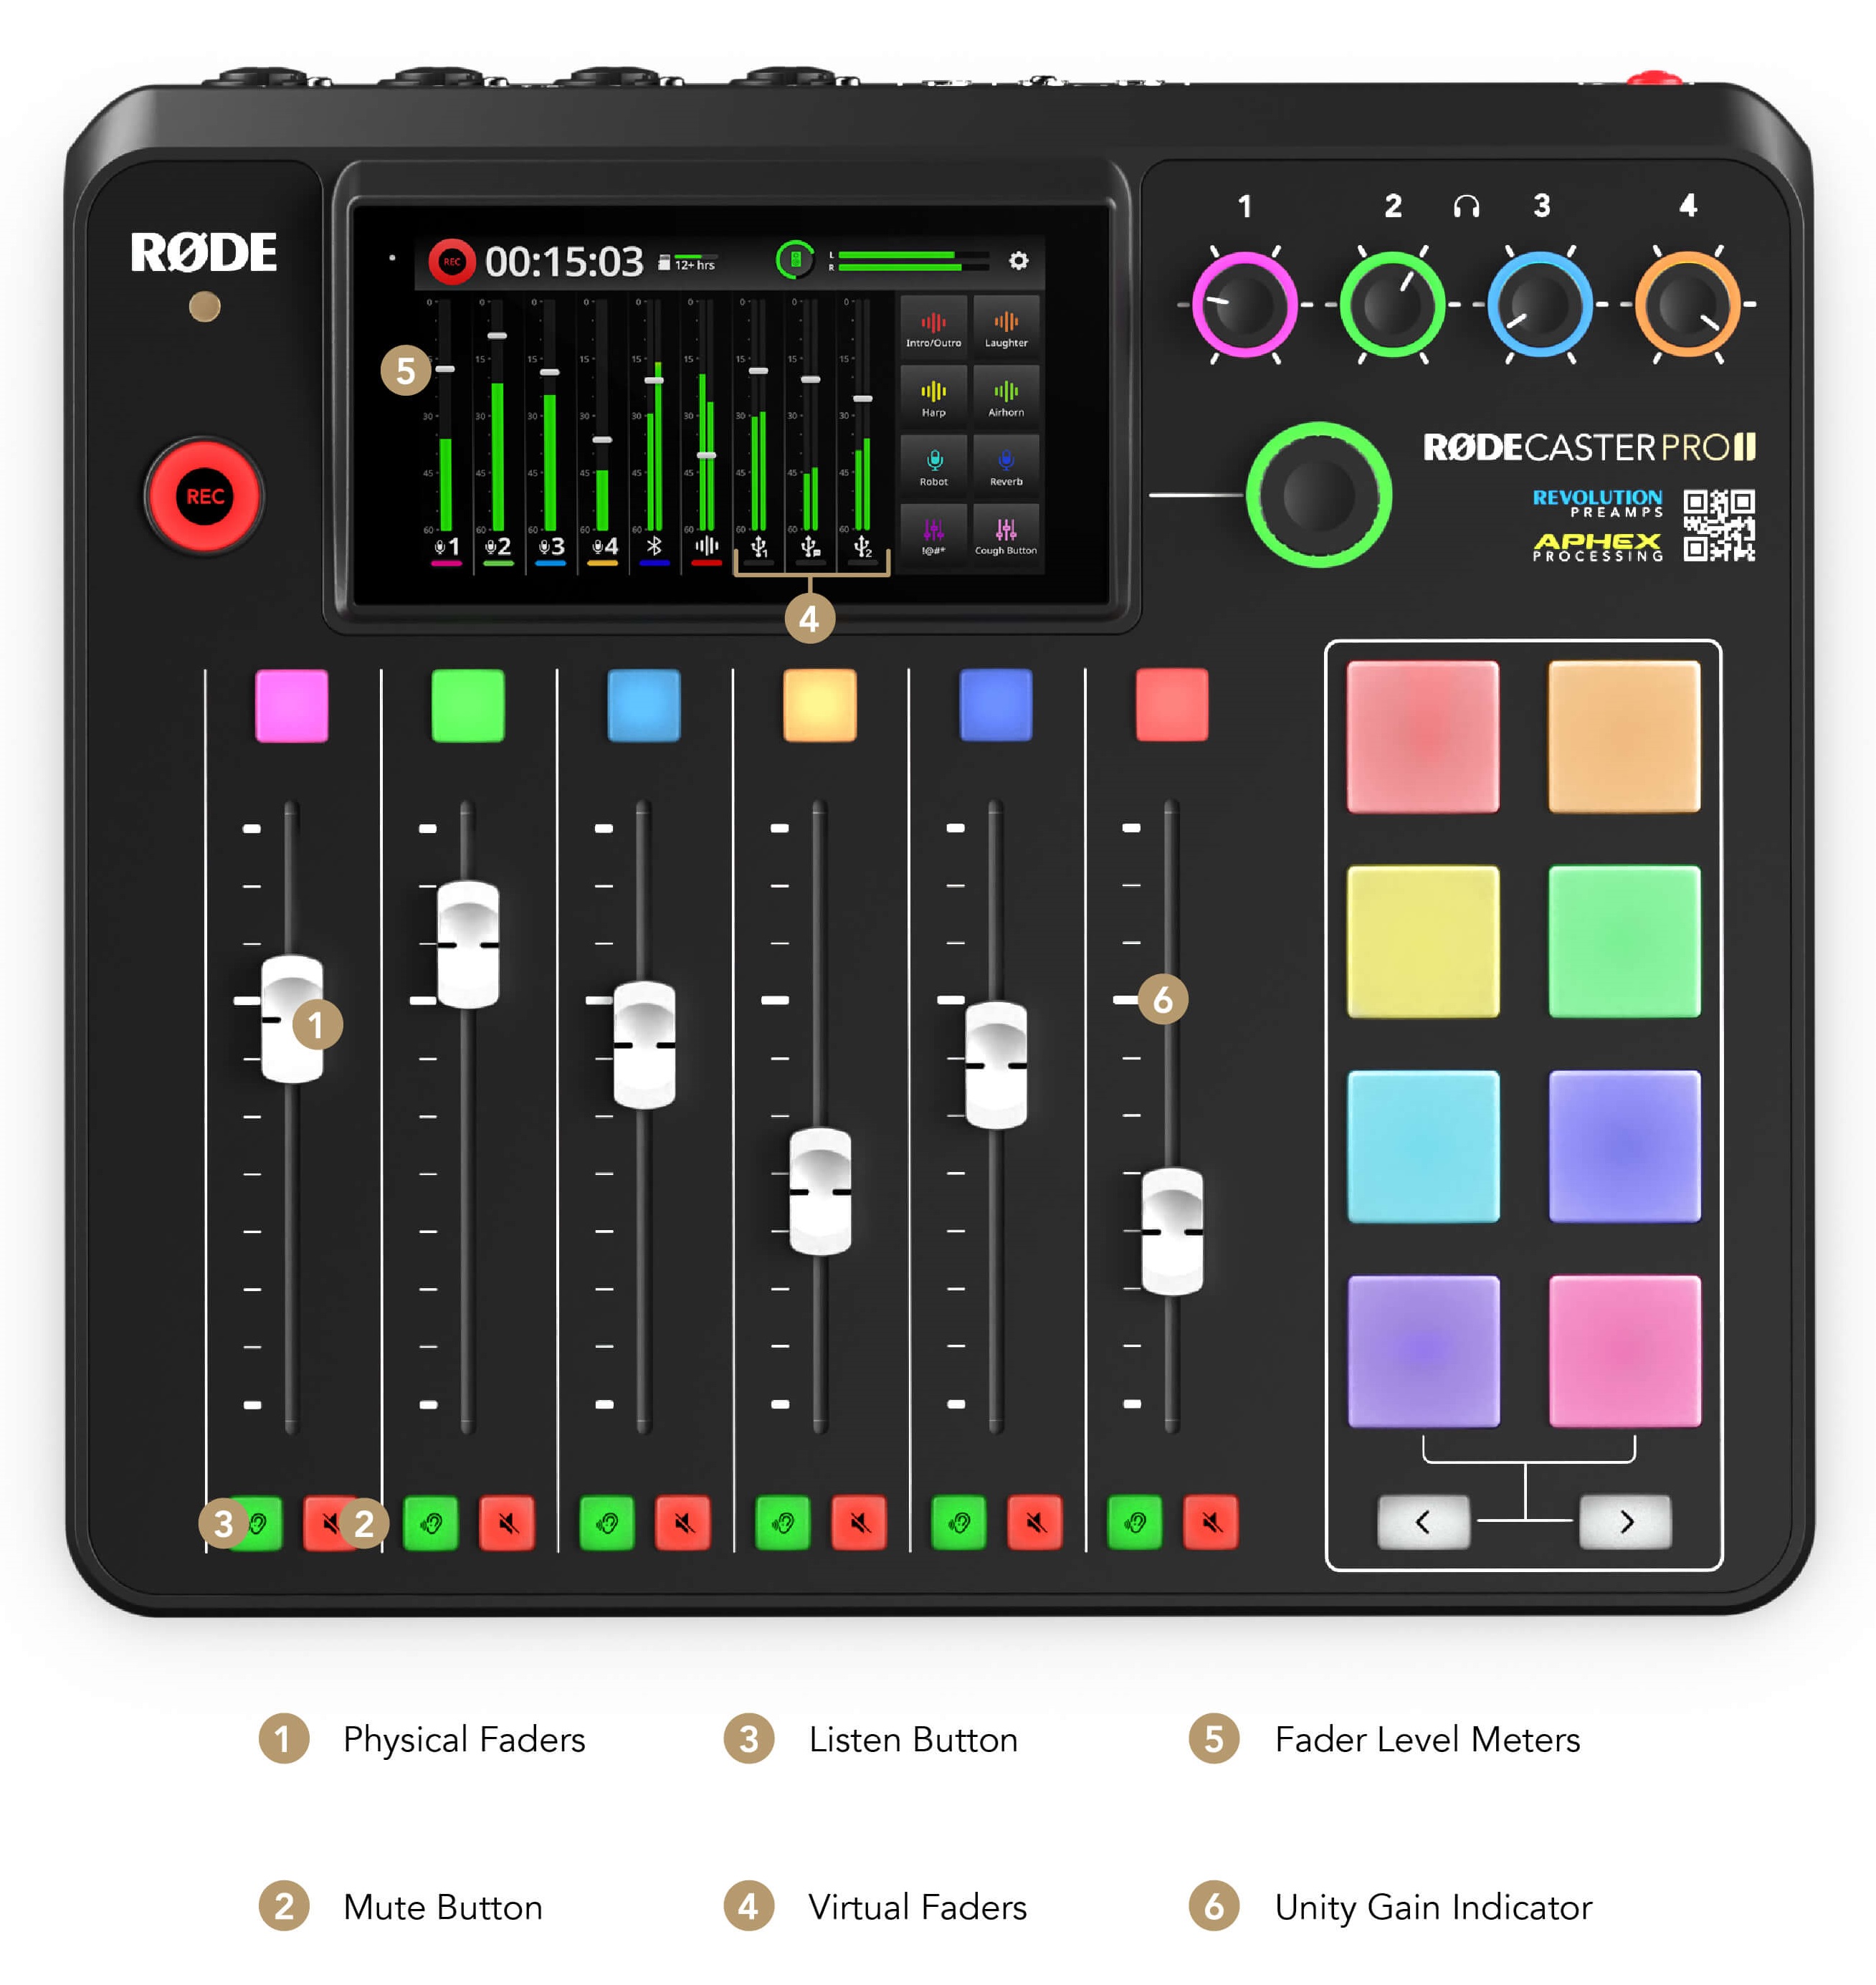
Image of RodeCaster with audio panel components labeled

The RØDECaster Pro II has nine separate inputs: four combo jacks for connecting microphones, instruments and other devices, two wireless receivers for pairing to compatible RØDE Series IV wireless transmitters (not installed), a Bluetooth channel for connecting computers and mobile devices wirelessly, the SMART pad channel, and dual USB-C interfaces for connecting two computers and mobile devices, plus an extra virtual USB channel called ‘Chat’ for connecting chat apps. Our RØDECaster is preconfigured and ready to go!

The red button under each of the physical faders is a mute button. When pressed, both the button and fader on the virtual mixer light up red, muting that channel’s output.

The green button under each fader is a "listen" or solo button. It lets you monitor that channel’s audio alone, without the rest of the mix.

Users should adjust the faders based on the specific inputs they are using. For the best results, mute any channels that are not in use by pressing the red mute button under the corresponding fader. Typically, if you're only using the primary and secondary microphones, all other channels should be muted to prevent any unwanted background noise. Additionally, when recording, it's a good idea to use the green 'listen' button sparingly to monitor individual channels without interrupting the overall mix.

To adjust the headphone volume, use the dedicated knobs in the top right corner of the RØDECaster Pro II. Each headphone output has its own control allowing you to set the volume to a comfortable level. The larger knob below controls the main speaker volume, but since we don’t have speakers connected, it’s not in use. None of these knobs will affect the recorded mix.

For more detailed information on using the RØDECaster Pro II, please refer to the official user guide.

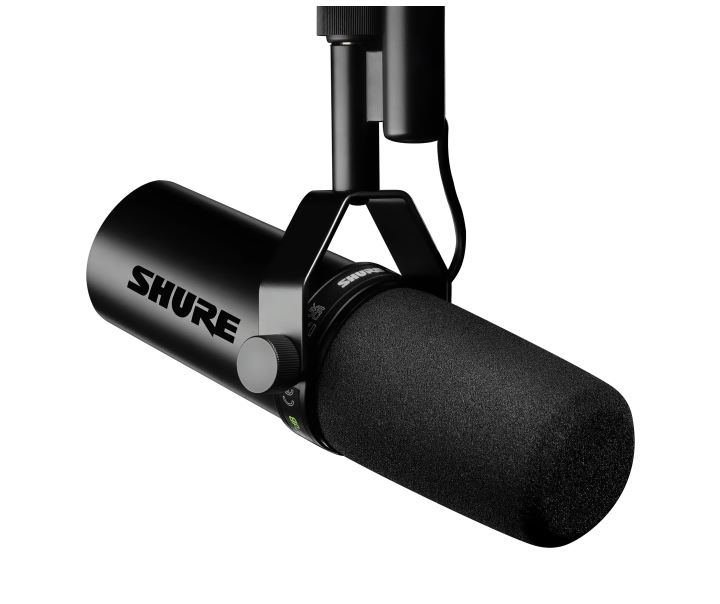
Shure SM7dB Microphone BACK VIEW

Image of Shure SM7B Microphone (back side)

Shure SM7dB FRONT VIEW

Image of Shure SM7B Microphone (front side)

Microphone settings

The primary microphone (on the Mac side) is connected to channel 1 while the secondary microphone is connected to channel 2. A third microphone is available at the Circulation desk. The switches on the back of each Shure SM7dB control the frequency response allowing you to tailor its sound to suit your needs. The recommended settings are Low-Cut filter and Mid-Range Boost both set to flat, and preamp set to 28dB.

To learn more about the Shure SM7dB microphone and its features, click here.

Speaking into the Microphones

Begin by putting on the headphones to monitor your sound. Position your mouth about 2-4 inches away and speak directly into the front of the microphone, keeping it at a slight angle to reduce plosive sounds (like 'p' and 'b'). This ensures a clear, balanced recording. Avoid speaking too far to the side or too close to avoid distortion or picking up unnecessary room noise. You can adjust the volume controls for each microphone using the RØDECaster Pro’s faders, ensuring your levels stay in the green zone on the display for optimal sound quality.

Soundscape

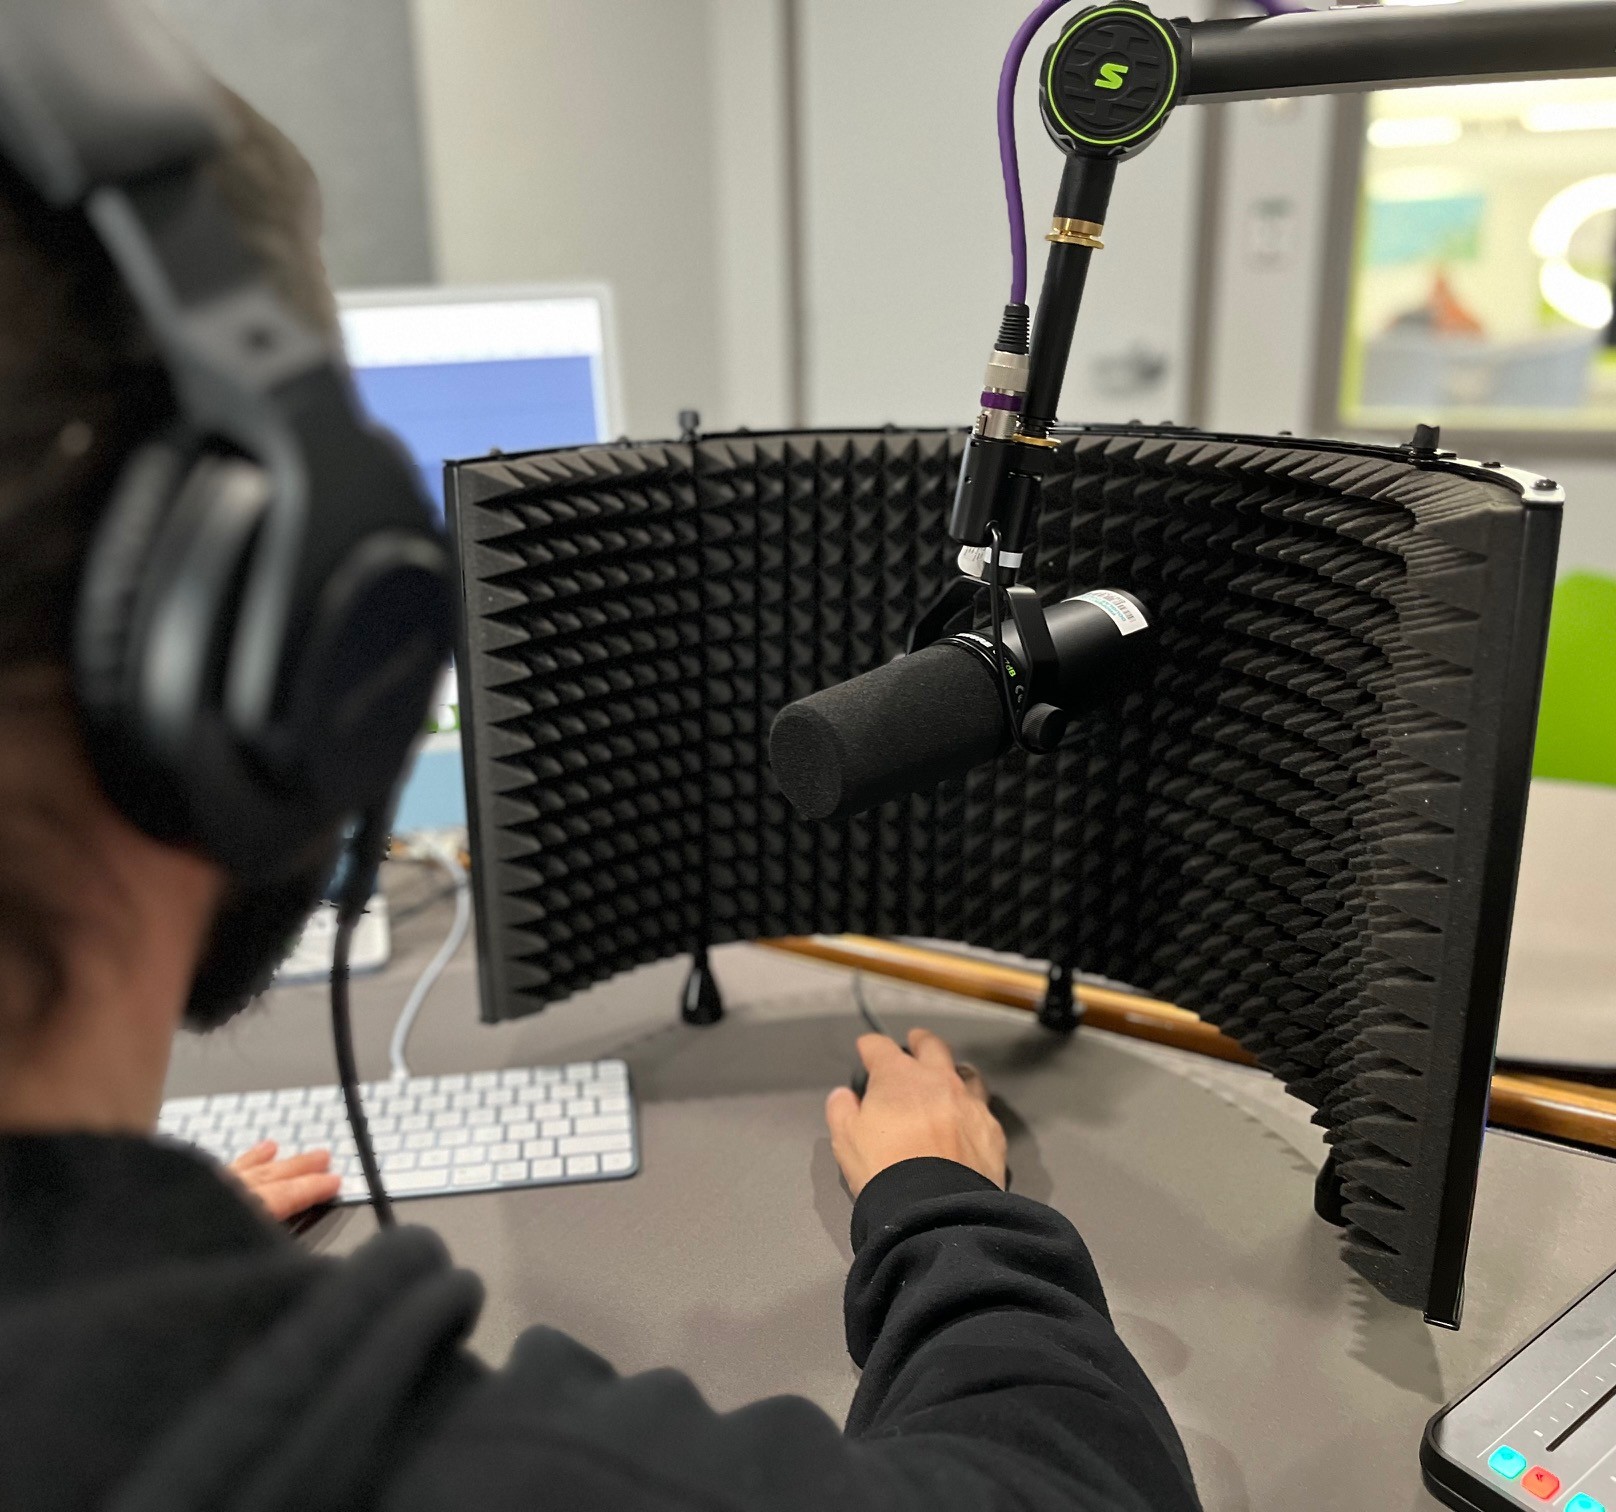
Image featuring podcaster using an acoustic shield behind a microphone

additional equipment

Our Podcasting & Content Creation Room is designed to create the perfect sound environment for your projects. Acoustic panels reduce echo and enhance sound clarity, while soft mats on the tables help absorb vibrations and minimize background noise. The room’s setup, including subtle plant decor, adds to a relaxed and focused atmosphere. You can also borrow additional equipment like pop shields and isolation shields from our Equipment Collection to further improve your recording quality.


Search for equipment in the Library.

Need equipment for your podcast room session? Make sure to book the technology you need in advance! We recommend submitting your equipment request for the same day as your podcast room booking, and be sure to submit your request at least two working days ahead of time to ensure everything is ready when you arrive.

Submit a Request
 

Cameras are welcome in the Podcasting Studio!

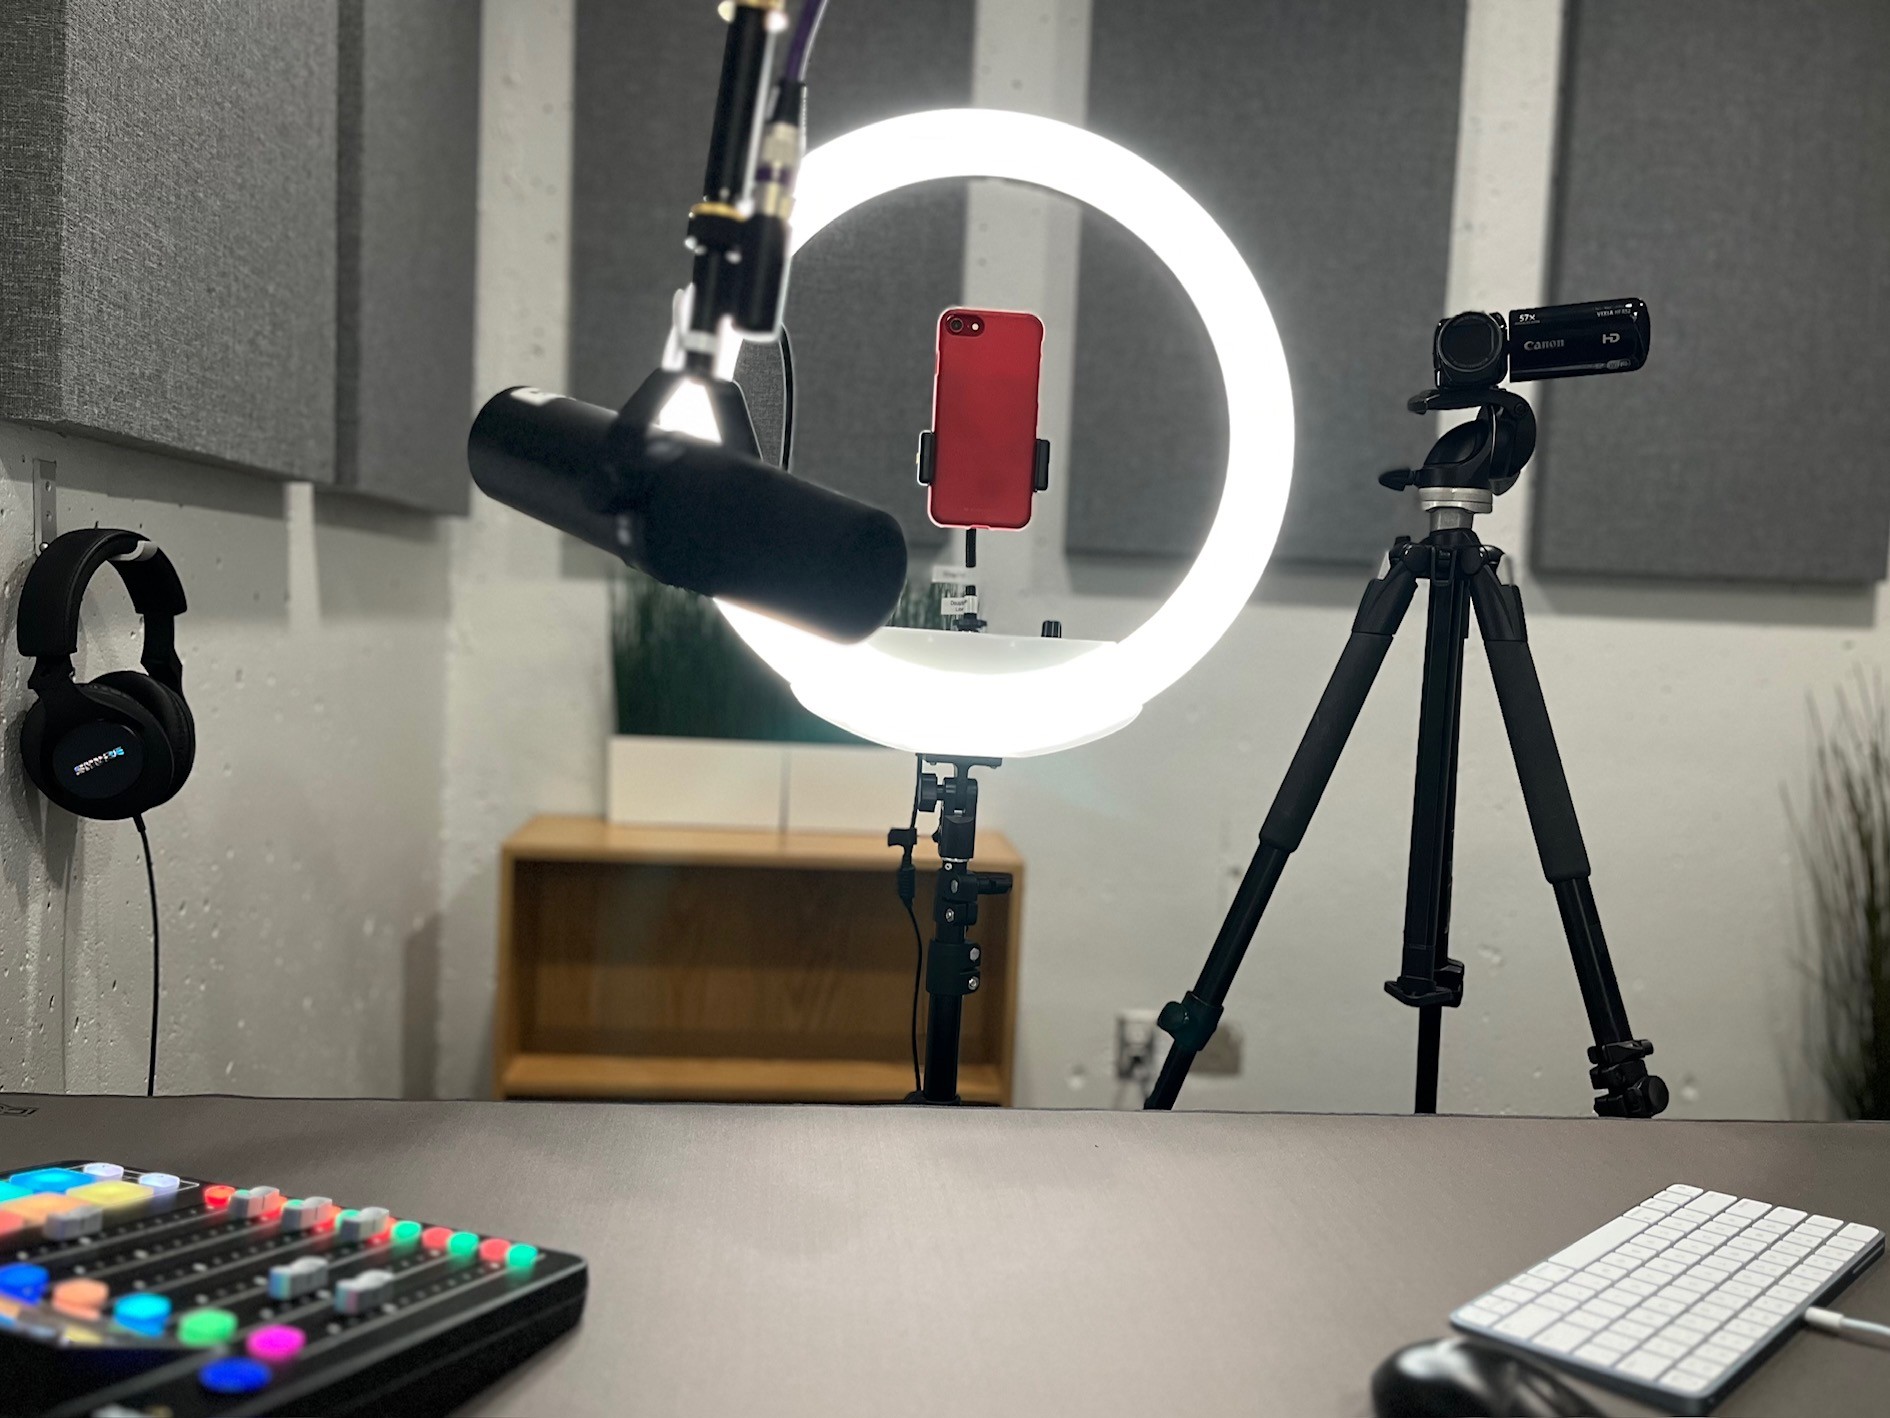
You can bring your own video camera or mobile device, or borrow one from the library's Equipment Collection, which includes both still and video cameras, gimbal mounts, and self-tracking cameras. We also offer tripods and a range of studio lights to help enhance your video projects. The room features dimmable lighting, allowing you to create the ideal atmosphere for recording. And yes, you're welcome to take selfies or behind-the-scenes shots while working on your project!

Quick Search

Use this tool to see equipment we offer.

Video and lighting

Image featuring ring light and cameras recording a podcast from 1st person view

Recording Audio in Audacity

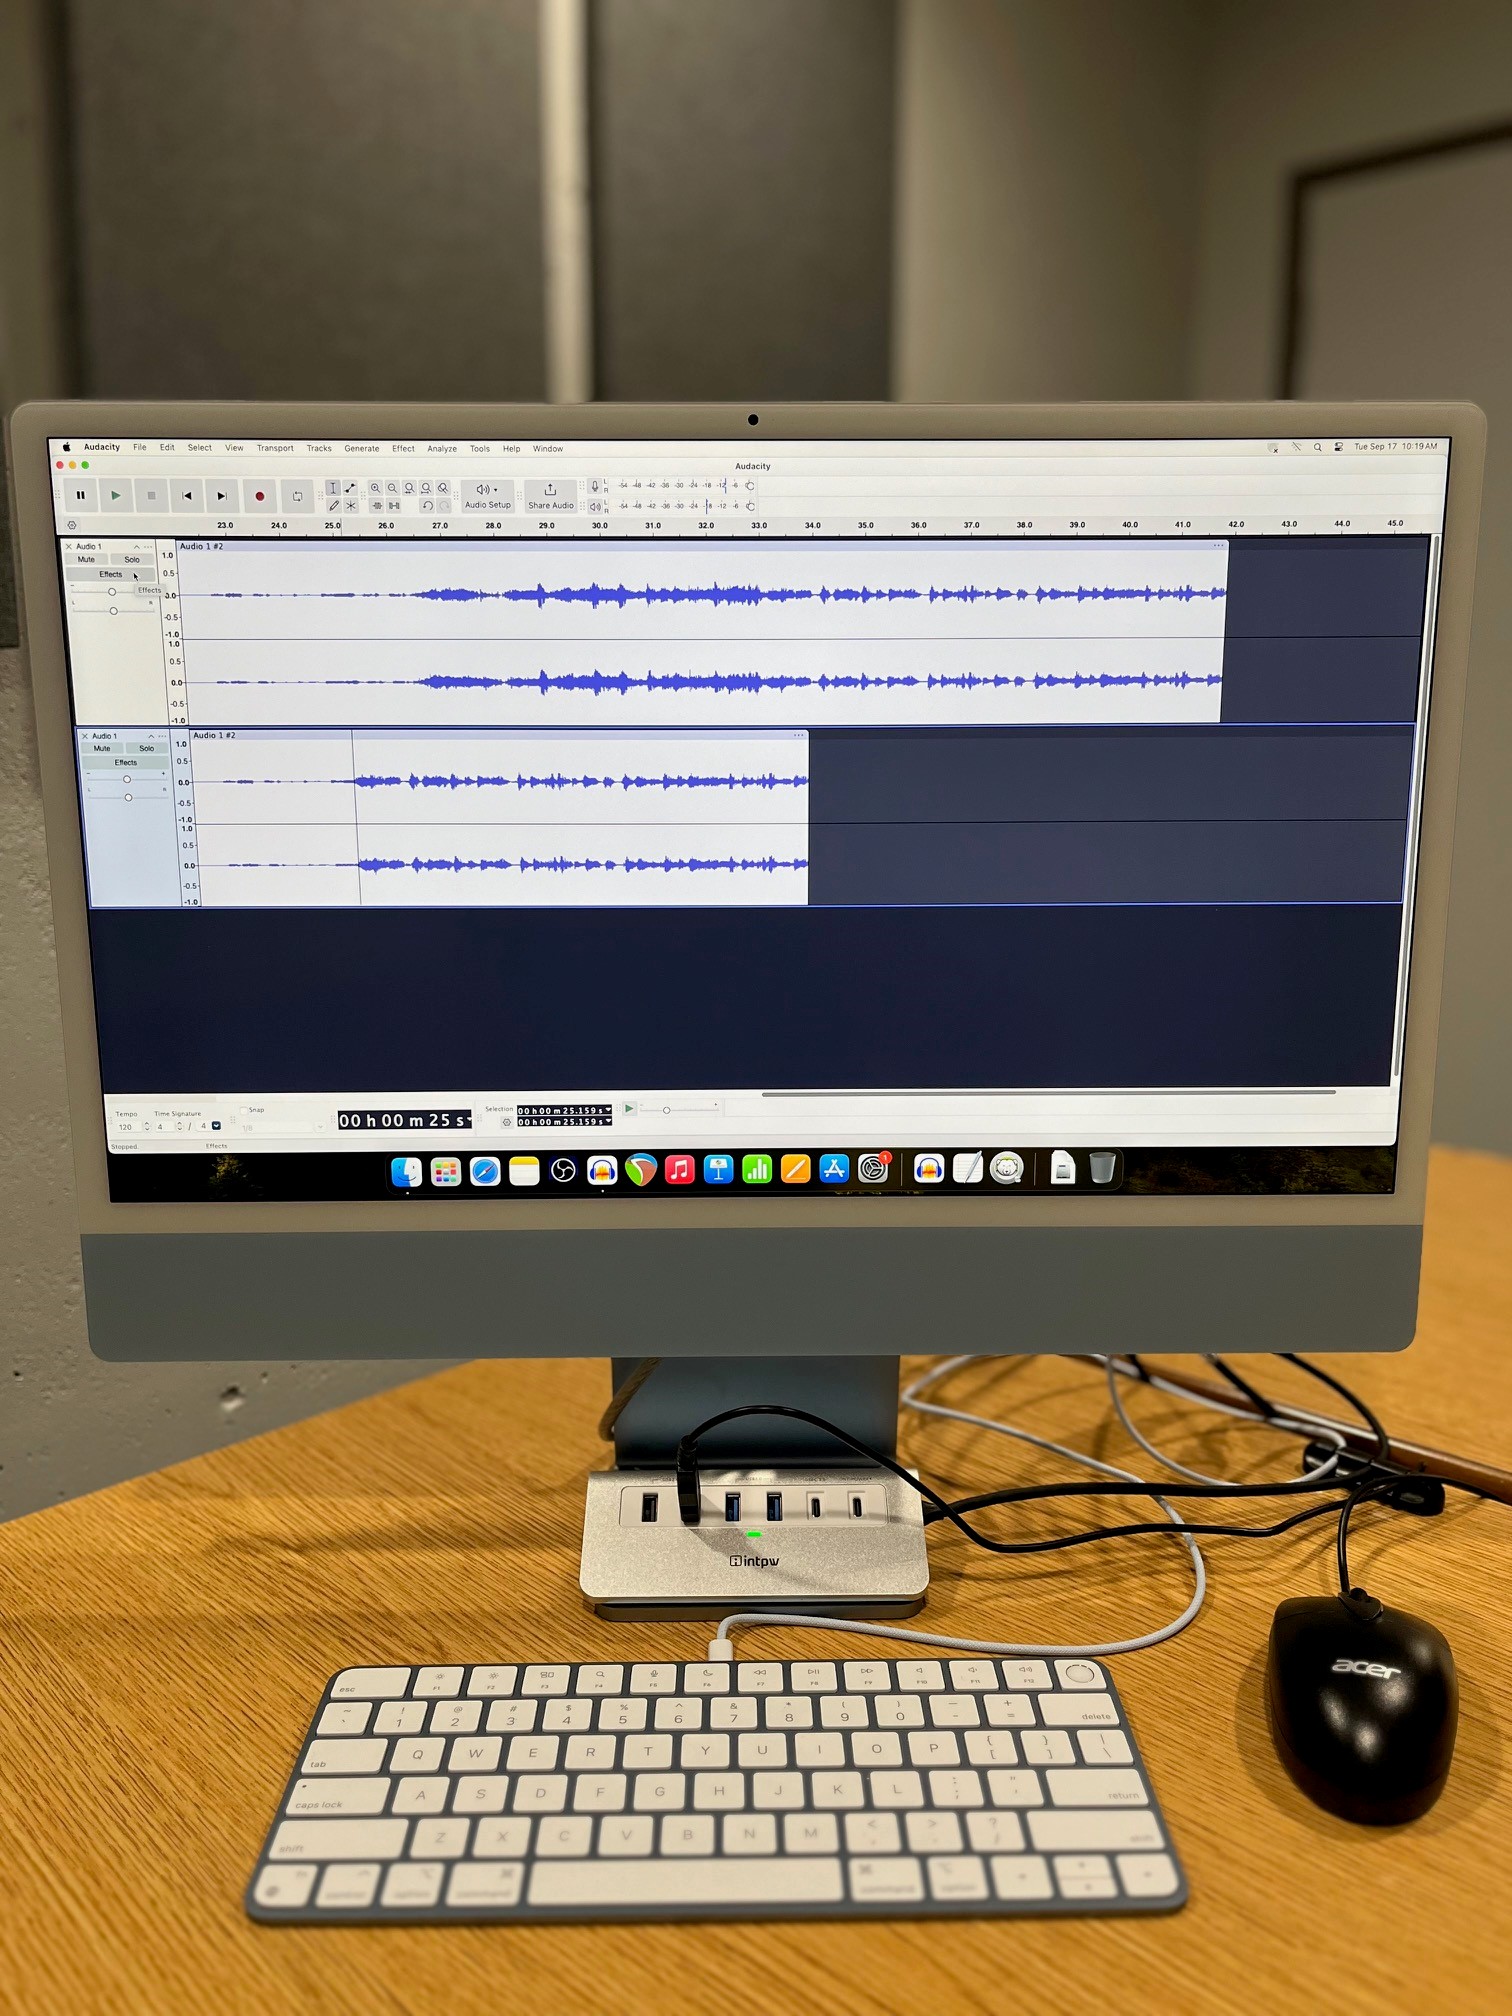
We suggest using Audacity for recording audio, as it’s easy to use, free, and available on all campus lab computers.

  1. Set up your microphone: The RØDECaster Pro II mixer is pre-configured for use with the Shure SM7dB microphones. In Audacity, select the RØDECaster Pro II as the input source from the dropdown menu next to the microphone icon. Note: if RØDECaster Pro does not appear as an option in the dropdown menu you may need to reboot the RØDECaster in order for the Mac to detect the USB connection.
  2. Adjust your levels: Use the RØDECaster Pro II mixer to adjust the microphone faders. Aim for a recording level between -12 dB and -6 dB in Audacity to prevent distortion while maintaining clear audio. Monitor your levels through the headphones to ensure everything sounds as expected.
  3. Record your audio: Press the red Record button in Audacity to start recording. Speak directly into the microphone and adjust your distance to maintain consistent sound quality. The audio is routed through your headphones, so you can hear everything in real-time.
  4. Playback and review: After recording, press the Stop button in Audacity. Use the Play button to listen to your recording. The setup is configured so that playback audio goes through the same headphones used for monitoring, making it easy to hear your results without changing settings.
  5. Edit your audio: Trim or adjust your recording as needed using Audacity’s editing tools. If you need help getting started, refer to our Podcasting Guide, check out YouTube tutorials, or see the official Audacity Tutorials for additional tips.

Audacity

Image of Mac computer featuring audio editing software in Podcast and Content Creation room

Export your file

Editing audio can take some time, so if you’re unable to finish in one session, you can export your audio and continue editing in any Douglas College computer lab using Audacity.

  1. Save your project: To ensure you don’t lose any progress, go to File > Save Project As... and save your project to an external USB drive. Since the Mac is equipped with Deep Freeze software all files will be wiped upon reboot so make sure to store your project externally.
  2. Export your audio: When you're ready to create a final version of your recording, go to File > Export and select your preferred format:
    • MP3: Recommended for podcasts and sharing, as it provides good quality with smaller file sizes.
    • WAV: Ideal for high-quality, uncompressed audio, though the file size will be larger.
  3. Set export options: If you're exporting to MP3, choose a bitrate of 128 kbps for standard quality or higher if needed. For WAV, you can typically leave the default settings as they are.
  4. Final check: After exporting, listen to the file to ensure it sounds as expected. Once everything is ready, save a backup copy to a secure location.

Publishing Your Podcast

Once your podcast is complete, it’s time to publish it! For guidance on how to upload, distribute, and promote your podcast, check out our Podcasting Guide for tips on hosting platforms, RSS feeds, and best practices to reach your audience.

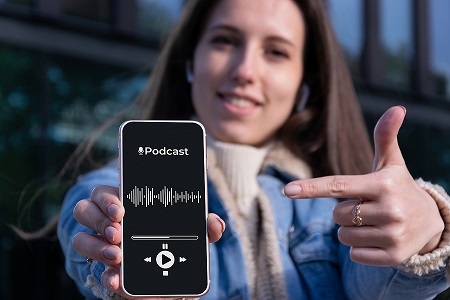
Image of a woman pointing to a podcast playing on her mobile phone

background image of a microphone

Now that you’re familiar with the Podcasting & Content Creation Room, you're nearly ready to book your session. First, take the tutorial and pass the quiz. Once you pass, save your certificate as a PDF and bring it to the Circulation counter. The certificate will be added to your record, so you’ll only need to complete this step once. After that, you can use our Library Room Booking System to reserve the room at your preferred time, up to four weeks in advance.


Complete the tutorial

Book an available time


If you need assistance with any of the equipment or have questions about your booking, you can reach out to our equipment team by email or by contacting the Circulation Desks.

For additional inquiries or further support regarding the room, feel free to contact the library team at library@douglascollege.ca